How To Get The Shag Cut Of Your Dreams At Home
The shag haircut has been making a comeback in recent years, and for good reason. It's a versatile and stylish cut that can flatter a variety of face shapes and hair textures. If you're thinking about getting a shag cut, but you're not sure how to go about it, don't worry! I'm here to help.
In this blog post, I'll walk you through the steps on how to get the shag cut of your dreams at home. I'll provide you with all the information you need, from choosing the right products to styling your hair. So whether you're a beginner or a seasoned pro, you'll be able to follow along and get the perfect shag cut.
What is a shag cut?
A shag cut is a layered haircut that features a combination of long, short, and choppy layers. It's a great way to add volume and texture to your hair, and it can be customized to flatter a variety of face shapes.
The history of the shag cut
The shag haircut first became popular in the 1970s, and it was associated with the hippie movement. It was a rebellious and carefree look that was perfect for the era. The shag cut fell out of fashion in the 1980s, but it's made a comeback in recent years.
Why get a shag cut?
There are many reasons why you might want to get a shag cut. Here are a few of the benefits:
- Volume: A shag cut can add volume to your hair, especially if you have fine or thin hair.
- Texture: A shag cut can add texture to your hair, which can make it look more voluminous and interesting.
- Style versatility: A shag cut is a versatile haircut that can be styled in a variety of ways. You can wear it straight, wavy, or curly.
- Low maintenance: A shag cut is relatively low-maintenance. You don't need to style it every day, and it's easy to grow out if you decide you don't like it.
How to get a shag cut at home
If you're feeling adventurous, you can try getting a shag cut at home. Here are the steps you'll need to follow:
- Gather your supplies. You'll need a pair of sharp scissors, a comb, a texturizing product, and a hairspray.
- Wash and dry your hair. Your hair should be completely dry before you start cutting.
- Section your hair. Divide your hair into four sections: front, top, sides, and back.
- Start cutting. Start by cutting the front section of your hair. Use the comb to guide your scissors, and cut the hair into long, choppy layers.
- Continue cutting. Repeat step 4 for the top, sides, and back sections of your hair.
- Style your hair. Once you're finished cutting, apply a texturizing product to your hair. This will help to define the layers and add volume. Finish by spraying your hair with hairspray to hold the style in place.
Tips for getting the perfect shag cut
Here are a few tips to help you get the perfect shag cut:
- Use sharp scissors. Sharp scissors will give you a cleaner cut.
- Don't be afraid to experiment. The shag cut is a versatile haircut, so don't be afraid to experiment with different lengths and layers.
- Start with a small amount of product. You can always add more product later, but it's harder to take it away.
- Finish with a strong hold hairspray. This will help to hold the style in place.
Conclusion
The shag cut is a great way to add volume and texture to your hair. It's a versatile haircut that can be styled in a variety of ways, and it's relatively low-maintenance. If you're feeling adventurous, you can try getting a shag cut at home. Just follow the steps in this blog post, and you'll be sure to get the perfect shag cut.
Are you looking to give yourself a shag cut at home? If so, you've come to the right place! We've put together a comprehensive guide on how to do a shag cut DIY.
In this guide, we'll cover everything you need to know, from choosing the right hair products to styling your new shag cut. We'll also provide links to some helpful resources, including Hairstyle Glow Beauty.
So what are you waiting for? Start reading today and learn how to give yourself a shag cut that will turn heads!
FAQ of shag cut diy
Q: What are the basic steps involved in a shag cut DIY?
A: The basic steps involved in a shag cut DIY are:
- Wash and condition your hair.
- Part your hair into four sections: front, top, sides, and back.
- Starting with the front section, lift a small section of hair and hold it vertically.
- Cut the hair at a slight angle, using your fingers as a guide.
- Repeat steps 3-4 on the top, sides, and back sections.
- Use a texturizing shears to add some additional layers and texture.
- Style your hair as desired.
Q: What are some tips for a successful shag cut DIY?
A: Here are some tips for a successful shag cut DIY:
- Use sharp scissors. Dull scissors will make it difficult to get a clean cut.
- Cut your hair in small sections. This will help you to maintain control and avoid making any major mistakes.
- Use your fingers as a guide. This will help you to create the desired shape and texture.
- Don't be afraid to experiment. There is no one right way to do a shag cut. Have fun and see what works best for your hair type and style.
Q: What are some common mistakes to avoid when doing a shag cut DIY?
A: Here are some common mistakes to avoid when doing a shag cut DIY:
- Cutting your hair too short. It's always better to start with less and add more, rather than the other way around.
- Cutting your hair too evenly. A shag cut should have lots of layers and texture, so avoid cutting your hair in even sections.
- Using blunt scissors. Blunt scissors will create a harsh, choppy look.
- Not using a texturizing shears. A texturizing shears will help you to add some additional layers and texture to your hair.
Q: What are some of the benefits of doing a shag cut DIY?
A: There are several benefits to doing a shag cut DIY, including:
- It can save you money.
- It can give you a more personalized haircut.
- It can be a fun and creative project.
Q: What are some of the risks of doing a shag cut DIY?
A: There are a few risks associated with doing a shag cut DIY, including:
- You could end up with a haircut that you don't like.
- You could damage your hair.
- You could make a mistake that is difficult to fix.
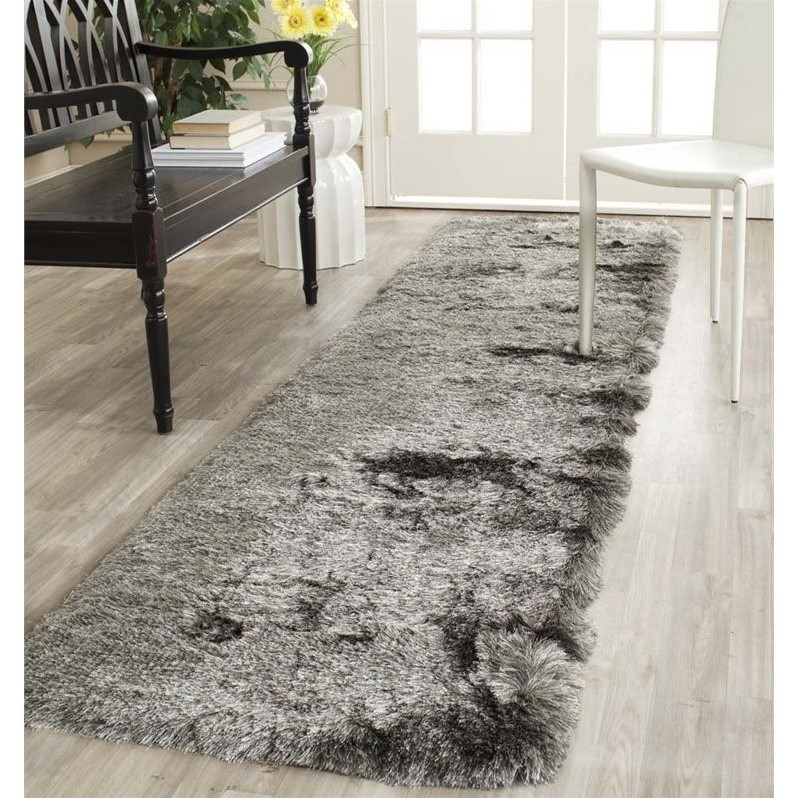
Image of shag cut diy
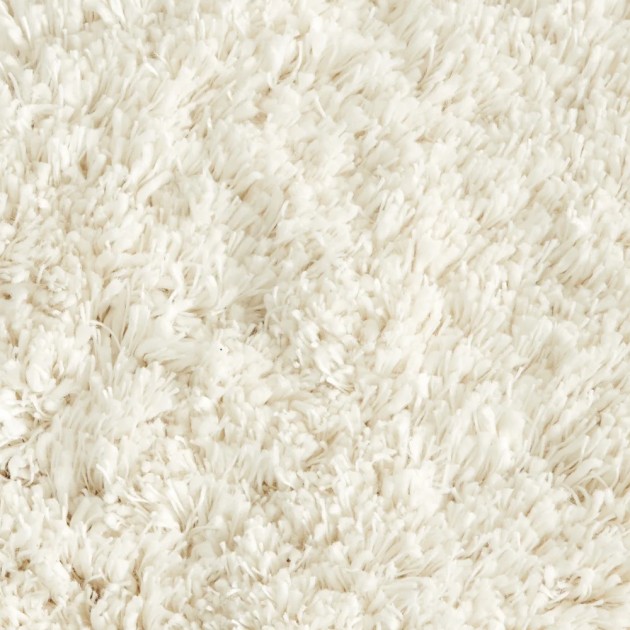
- A close-up of a shag cut rug, showing the long, wavy strands of hair.
- A person with a shag haircut, the hair styled in a layered, tousled look.

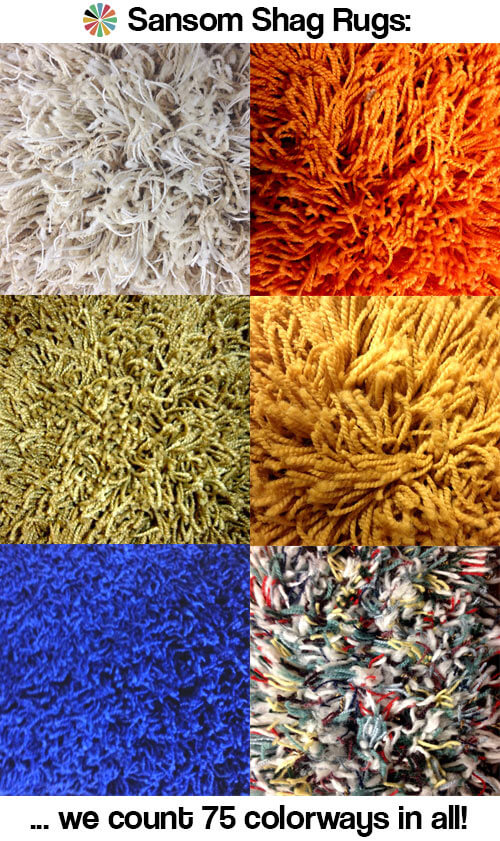
- A shag carpet, the pile of the carpet long and luxurious.
- A shag dog bed, the bed covered in a soft, shag pile.

- A shag throw blanket, the blanket perfect for snuggling up on a cold day.

- A shag pillow, the pillow adding a touch of luxury to any room.

- A shag headboard, the headboard adding a touch of character to a bedroom.

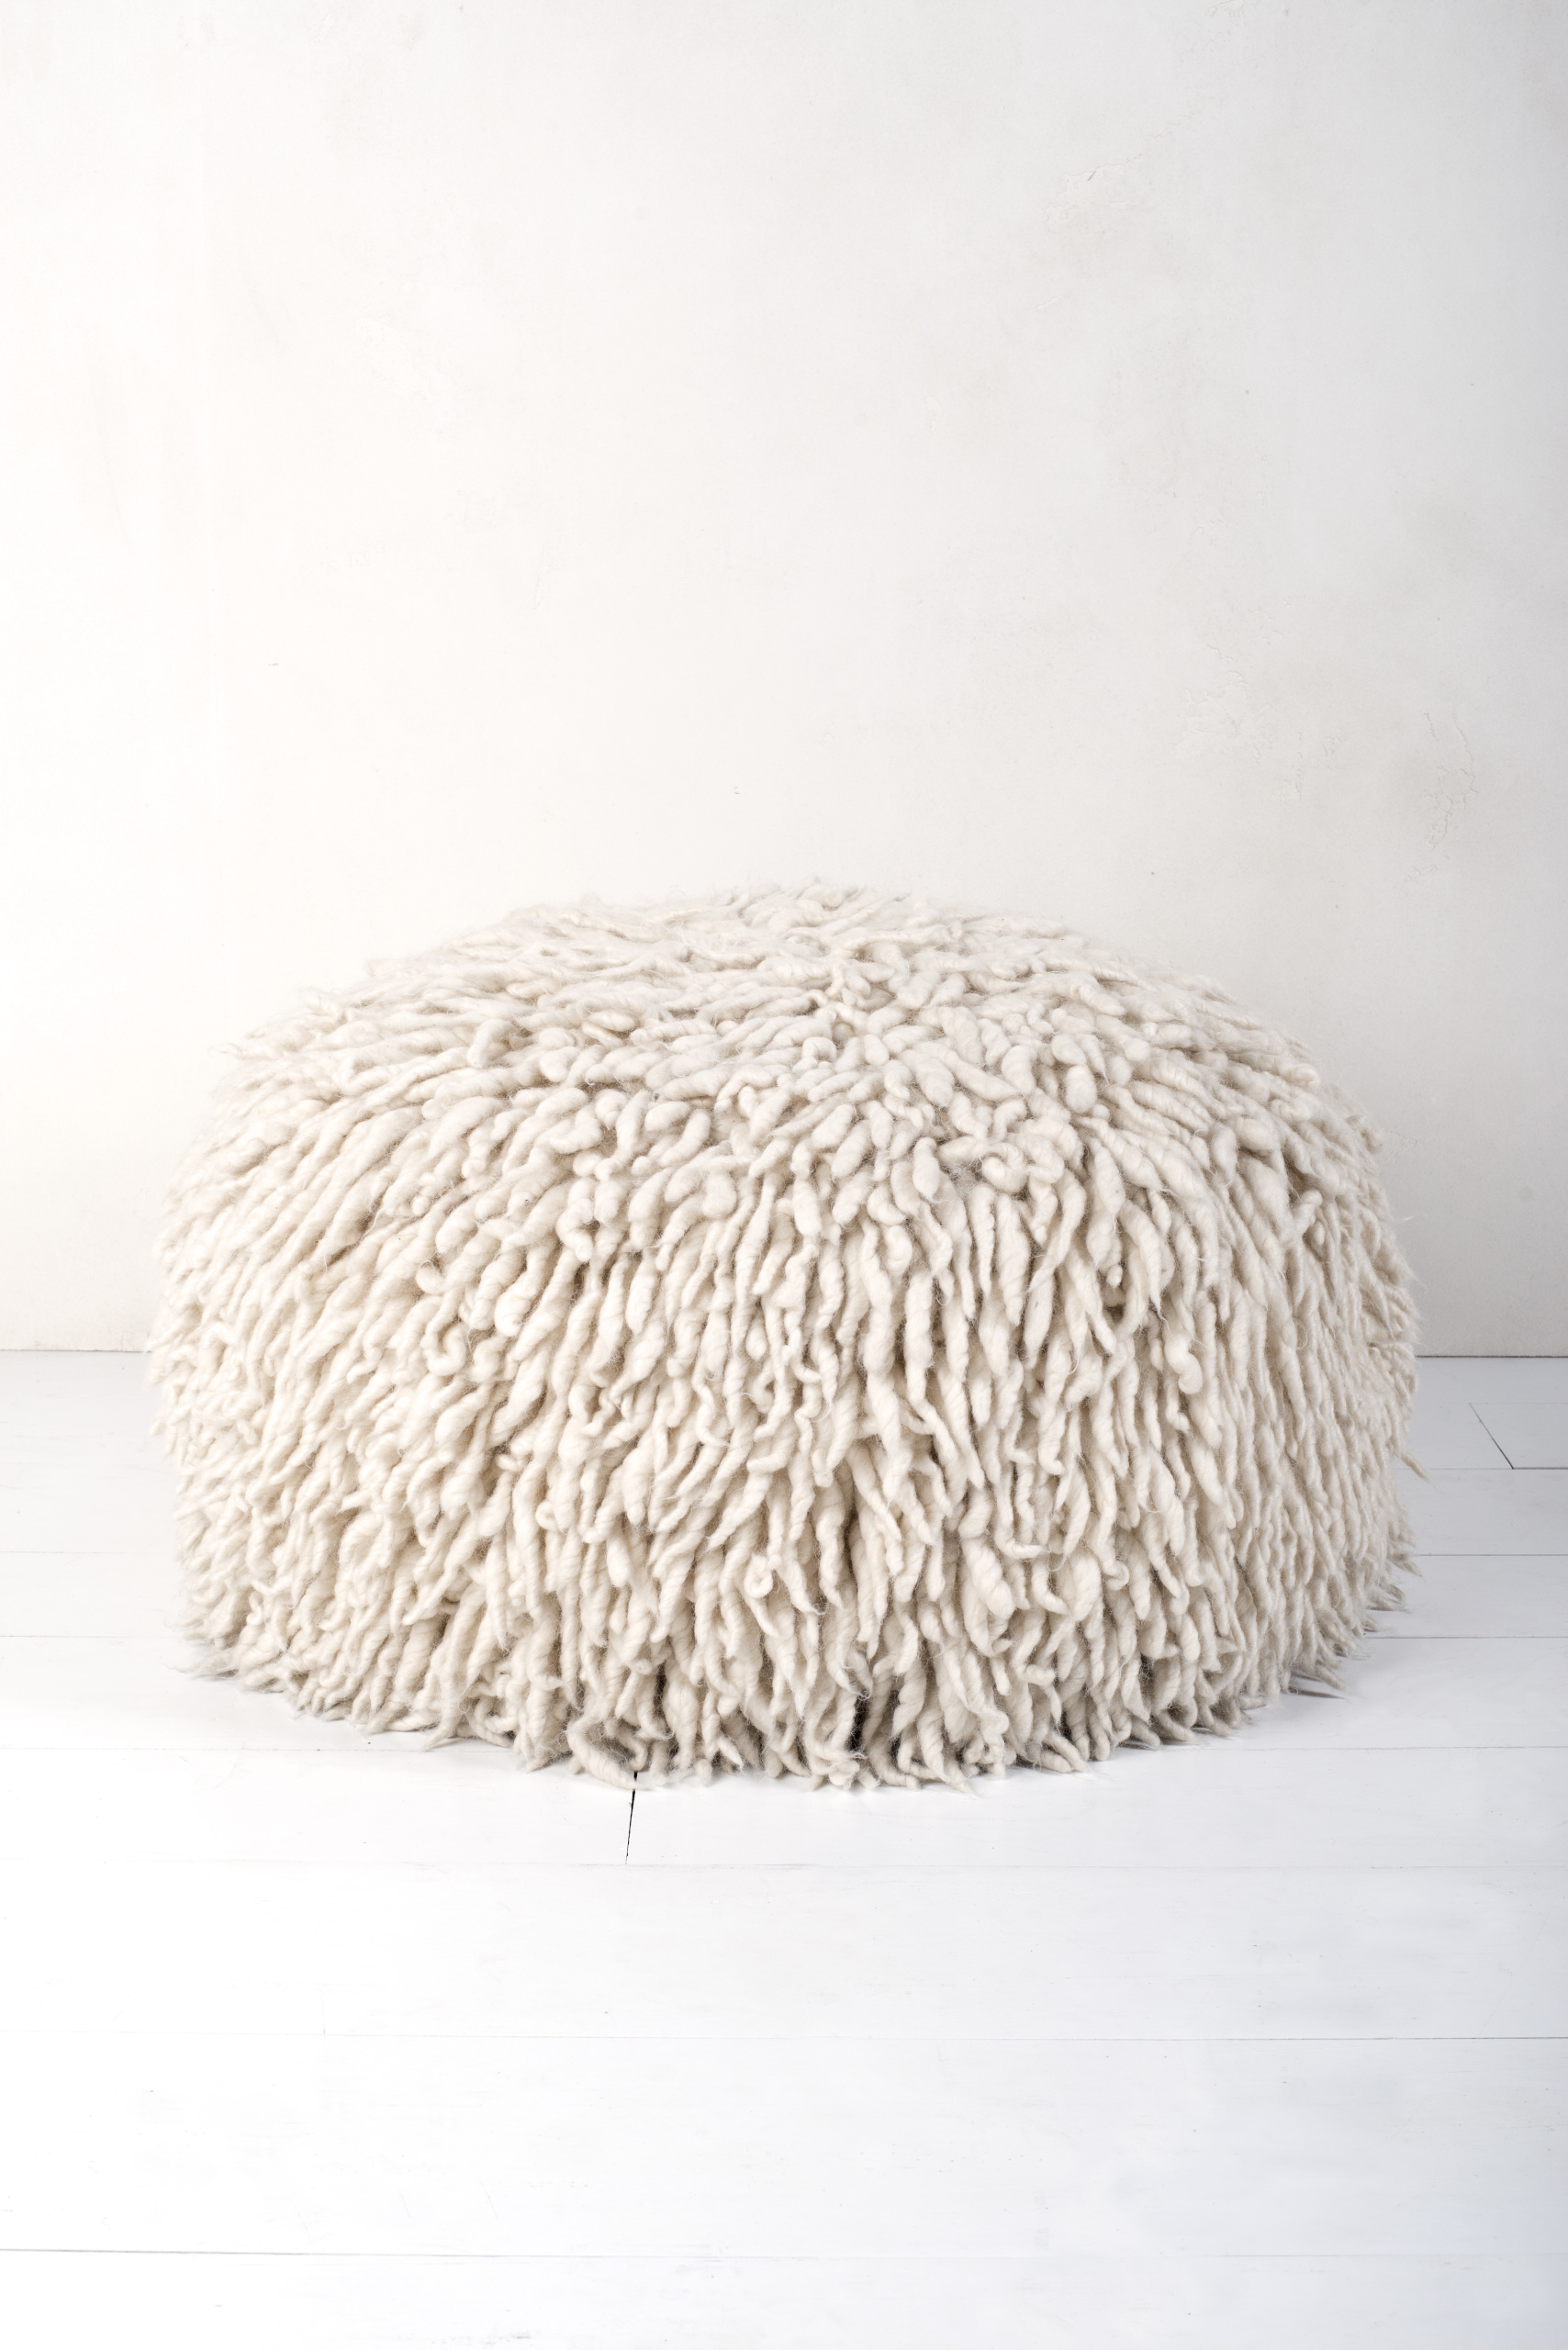
- A shag pouf, the pouf a great way to add seating or a footrest to a room.
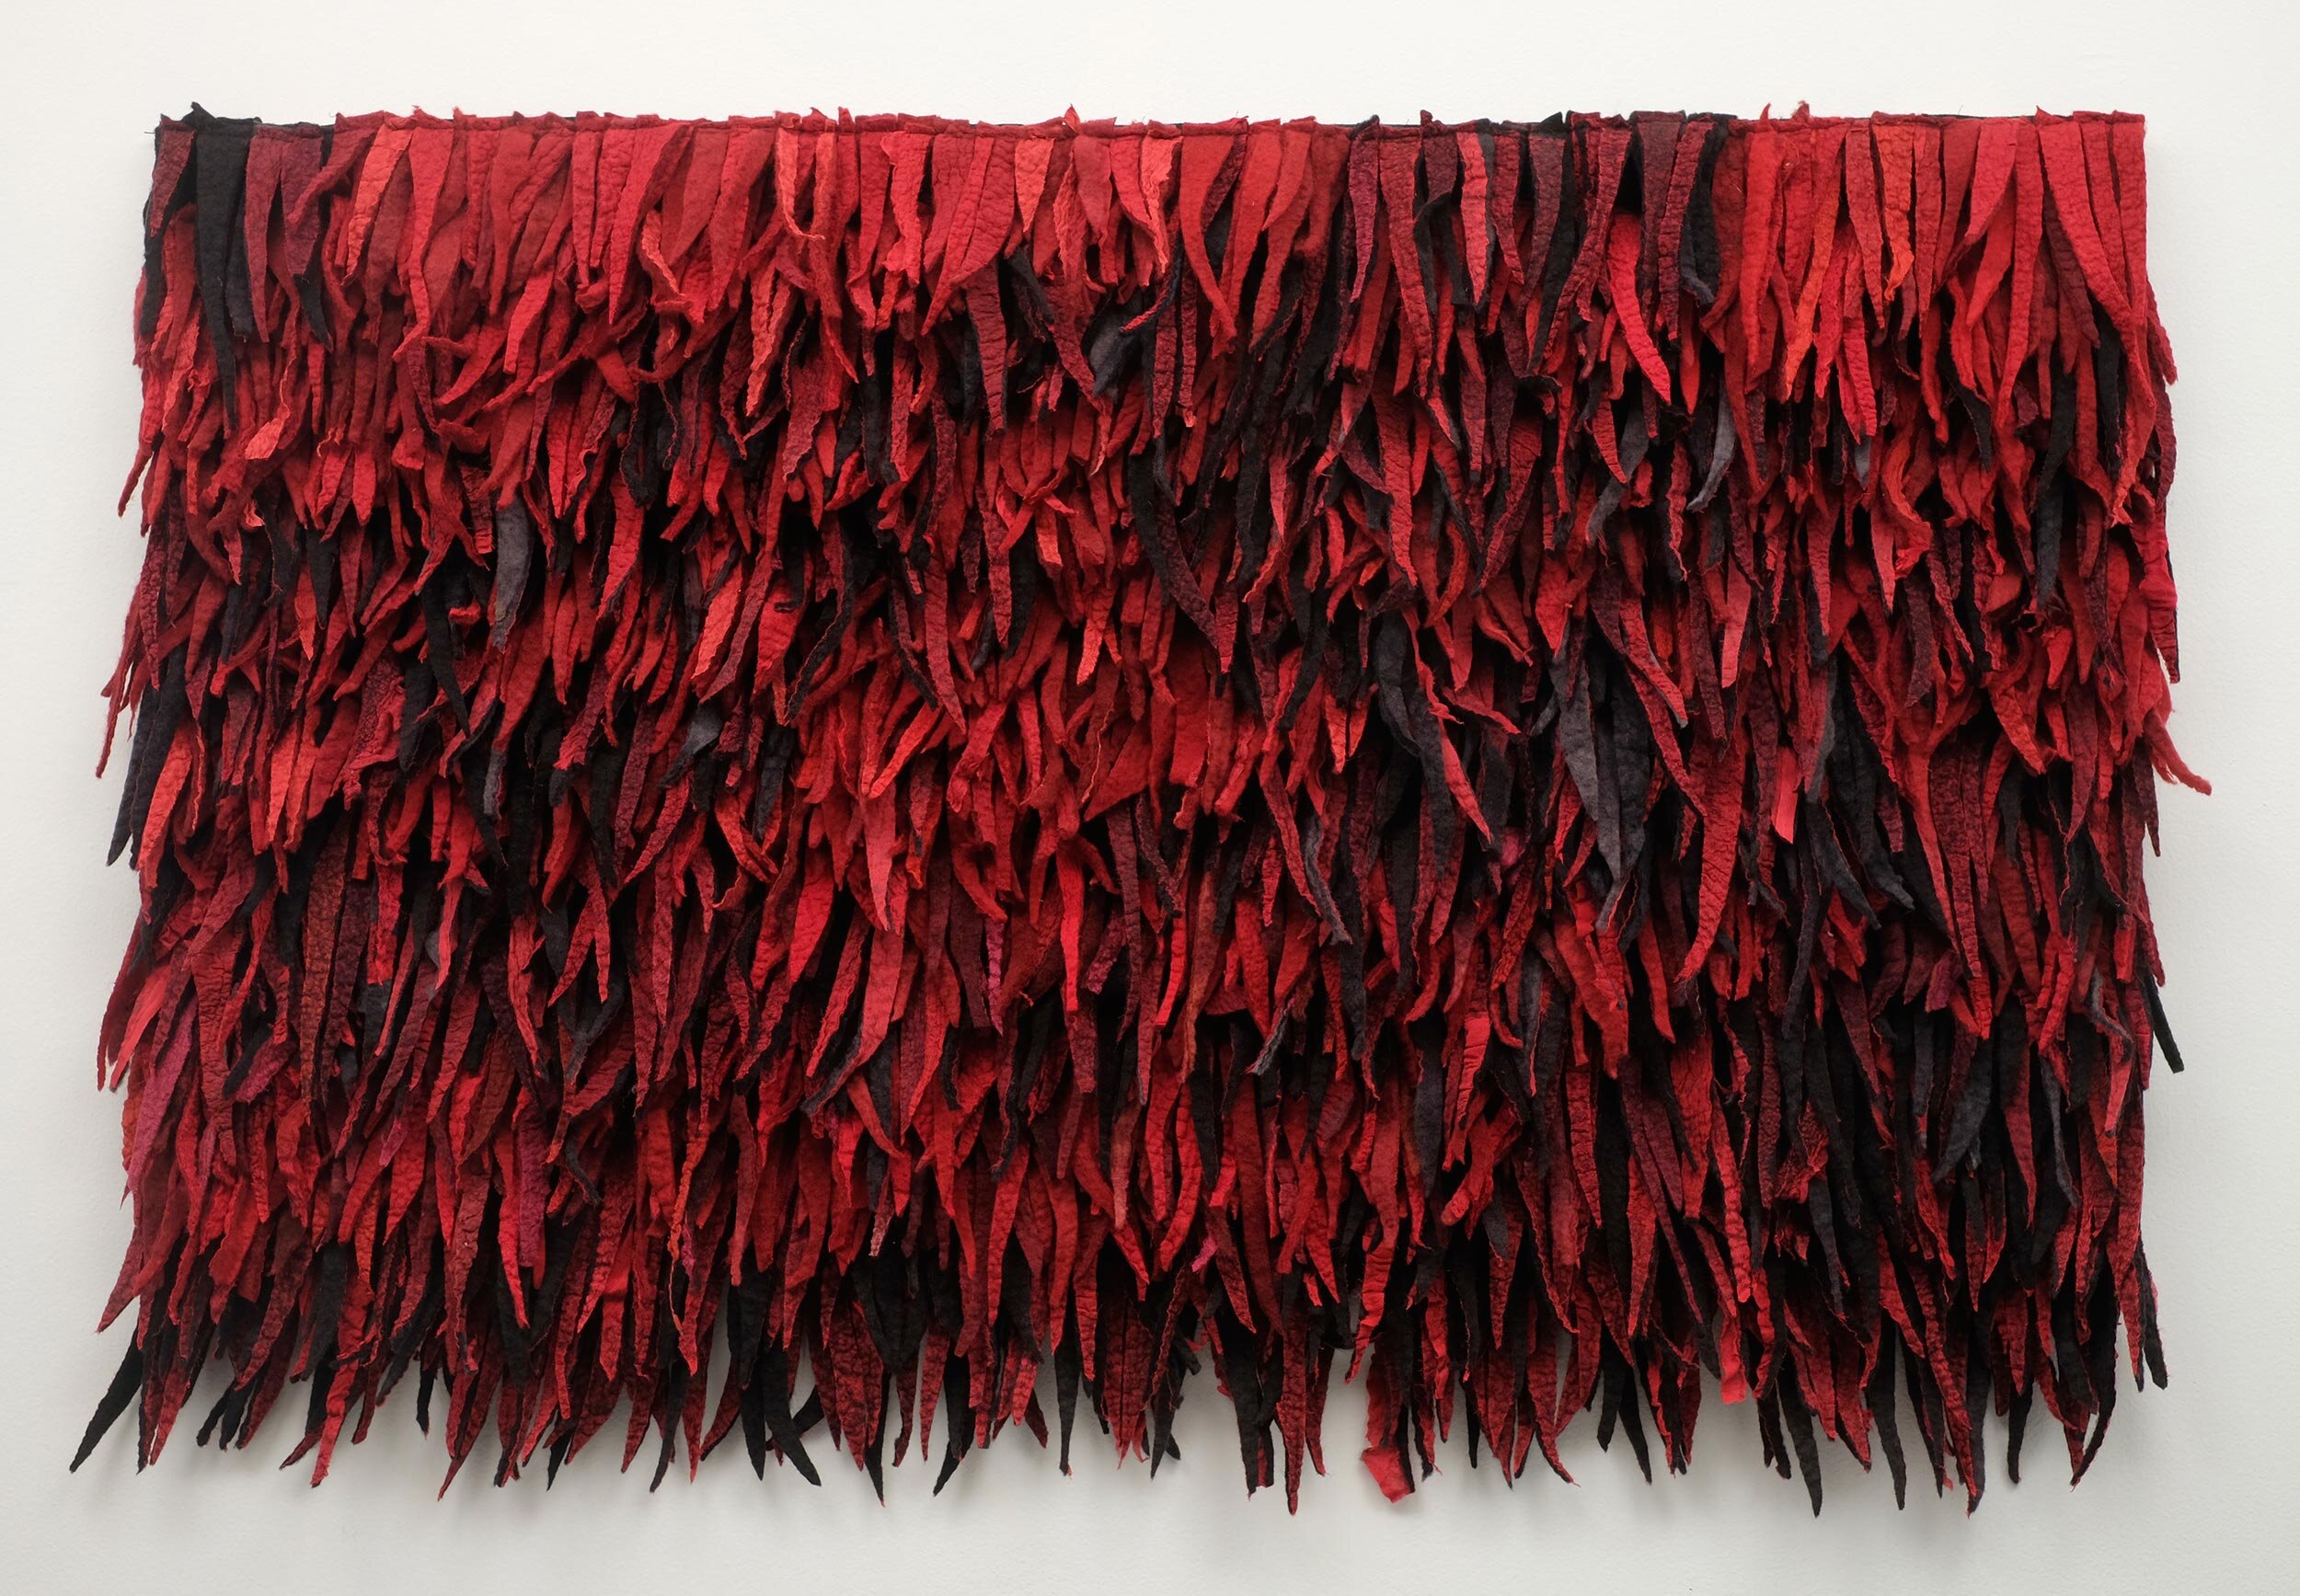
- A shag wall hanging, the wall hanging a great way to add texture and interest to a wall.
- A shag rug runner, the rug runner a great way to add a touch of luxury to a hallway or entryway.
Post a Comment for "How To Get The Shag Cut Of Your Dreams At Home"